Operating portable is the most popular version of off grid ham radio. Many amateurs cannot regularly operate off grid from their home stations due to A) financial concerns, (they cannot afford a dedicated fixed system); or B) logistical concerns, (they do not have physical space to install a system or are restricted by ordinances/homeowners’ association rules). For the majority of hams, going portable is the only off grid option they have.

Defining “portable”.
Portable off grid ham radio means different things to different people. For some, it’s operating from an RV or motorhome, or maybe from a club communications trailer. For others, it’s as simple as a chatting on a handheld radio while walking the dog. For the purpose of this discussion, portable is defined as HF through VHF capability (possibly UHF) where all the equipment, antennas, and power source can be carried by one person.
Operating HF to VHF portable off grid ham radio in the “carry it with you” sense necessarily means QRP. There are very few practical ways to have a 100 watt radio and a reasonable power source in a carry-portable configuration. And before you all start peppering me with links to YouTube videos & blogs of people who have done it, I am already aware of them.
Here’s my analysis of these projects: High-power carry portable setups are often quite clever and do work, up to a point, but they all come with the same two weak links: The power source and overall size and weight. For example, one very popular YouTuber has a 100 watt radio mounted on a backpack frame with a 10 amp hour battery. To her credit it’s a well put together rig that incorporates many great ideas. The catch: With only 10 amp-hours on the battery, she’s not going to push a 100 watt radio for very long, and her otherwise thoughtful design has no provisions for recharging in the field. After a few short contacts she’ll be trekking back down the mountain with that thirty-plus pound beast to look for a place to plug in.
So our goal will be to come up with a practical, working, carry portable off grid ham radio station, not a glorified science fair project and/or YouTube showpiece. Our portable station will ideally come in under 20 lbs. That circles us back to QRP. Running reduced transmit watts means smaller, lighter radios and batteries plus a realistic way to recharge in the field. By breaking free of the “cult of 100 watts” we can scale everything down and avoid a lot of roadblocks and expense.
First things first…the radio.
you’ll have to commit to a QRP-specific transceiver. The expense is probably the single greatest barrier to entry, but there are ways to mitigate this problem.
Let’s be honest: Amateur radio can be an expensive hobby. Not everyone has $1245.00 to drop on a dedicated-portable Elecraft KX2 (and for that price you still have to put it together yourself!). However, there are very clean, modestly priced used radios such as the TenTec Argonaut. MFJ has a a partially-assembled QRP radio kit for less than $100. It only works on 40 meters, and only on CW, but for the money it’s a heckofa bang for the portable off grid ham radio the buck! If you’re trying to set a record to get on the air for the least amount of money, there is a single-frequency transceiver kit for less than five dollars!

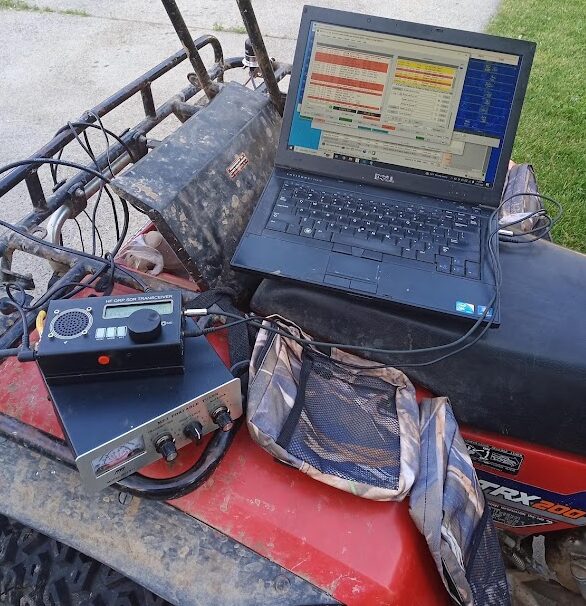
My solution was finding this QRP HF Transceiver, it did everything I wanted to do with a portable operation. With a built in microphone and PTT button on the side it almost feels like using a HT. With a built in battery this radio will last for two and a half hours on a full charge running FT8. If you wanted to upgrade the microphone (I have received no complaints on audio quality), there are 3.5mm jacks on the side for both microphone and audio out, so interfacing to a computer, tablet or external speaker system is easy. On POTA activations I can switch between 10 meters and 80 meters on SSB, CW or any digital modes using PTT or VOX. This is by far the best option I have found for my budget and fulfills all of my needs.
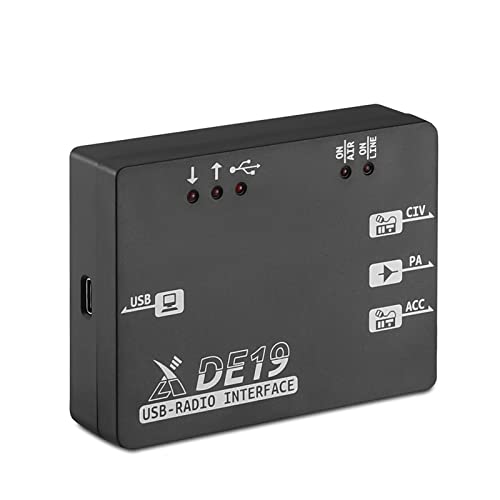
Ebay and Amazon have a good selection of relatively inexpensive rigs that will get you into portable off grid ham radio for not too much money. Another small QRP radio worth mentioning is the Xiegu G90, with a built in antenna tuner and a 20 watt output. And the more budget friendly Xiegu G106 at 10 watts, Although you will need to buy the computer interface expansion if you want to link these radios up to a computer. The reputation of some of these manufacturers does not exactly inspire confidence, but it’s an option worth exploring. Personally, I took a chance and ordered the obscure QRP HF Transceiver and couldn’t be happier.

After years of rumors, Yeasu has released the FT-818, the successor to the legendary FT-817ND QRP radio. The 818 has not been out long enough to know what effect it will have on the price of new & used 817ND’s, but expect to see some good deals real soon. Like all things technology, when a new gizmo comes out the value of the old gizmo usually goes down.
The bottom line is that to run portable off grid ham radio, you’ll need to come up with a rig that’s small and light enough to carry along and does not consume so much power that you must also lug a hulking battery and the means to charge it. If you have the funds, then jump right in with a KX2 or FT-818. Those of more modest means will need to do some homework, but there reasonable options.

Antennas for portables.
The second hurdle to portable off grid ham radio is the antenna. Although there are many options, antennas come in two basic formats: Home made and commercially produced.
Home made antennas are the least expensive and provide a great learning experience while building them. They’re so inexpensive that you can have more than one for different portable situations. There are literally thousands of books, web sites, and YouTube videos on how to make your own “porta-tenna”. The disadvantages of home brew antennas are few but meaningful:
Home made antennas can be tricky to build and perfect. Even established designs are going to have quirks that require patience to work out. Because they are made from common materials, the size and weight of the finished product may be greater than you’d like.
If you do make your own, don’t follow anyone who is trying to reinvent the wheel, or drift too far off task yourself. If you want to be an antenna experimenter, fine, it’s tons of fun, but that’s another adventure in itself. For our goal of getting into portable off grid ham radio, we need a proven antenna that is not in danger of becoming a project itself. One of the easiest I find to deploy on the field for HF is an End Fed Wire Antenna.
Lastly, many home made antennas will require an antenna tuner, which adds expense to the project and will take up space in your carry gear. QRP-sized antenna tuners are not particularly expensive nor big and heavy, but this is something to keep in mind. I use a MFJ-971 with an analog swr/power meter on it and it also allows the use of ladder line.


With commercially made antennas, all the guesswork is done for you. There is no lengthy testing, tinkering, or frustrations. They really are a “plug and play” affair, most times. You can be on the air within minutes after the box arrives at your door. Factory built antennas are usually easier to transport and set up than homebrews.
The big disadvantage is cost. They can run several hundred dollars, maybe more than what you’ll pay for a radio, and you get performance that is about the same as a cheap DIY version. Be careful and know what you are really buying. Some are just jazzed up versions of antennas you can easily make yourself. DX Engineering, Chameleon, and MFJ are the three most popular brand names.
Whether you build your own antenna or buy one already made, remember that antennas for portable off grid ham radio are always a compromise.
The power source.
A power source is the probably the easiest & cheapest part of the portable off grid ham radio experience. Some radios like this QRP HF Transceiver come with internal batteries. A QRP radio will also run all day on a small solar panel. Add a 5-7 amp hour external battery and you’ll really be set. Between that and a 27 watt folding solar panel I never have to plug my radio into the grid. If needed I can leave the power pack behind and run straight off the solar panel.


There are a variety of all in one solar “kit systems” and “solar generators,” but most are overpriced and more than you’ll need for QRP operations. Don’t overthink or over do this. There is no reason to spend $200-$500 or more to support a five watt radio and a few accessories.
Putting it all together.
So you’ve assembled all the components needed for a portable off grid ham radio station. Now you have to decide how you’re going to package everything so it is neat, organized, and ready to go. Unfortunately, there are no tricks here. It’s a very personal decision and you’ll probably experiment with different methods before you find one that works for you.
Be sure to include extras such as spare fuses, adapters & connectors, nylon ties, maybe a few hand tools, and whatever else you may need to solve small problems in the field.
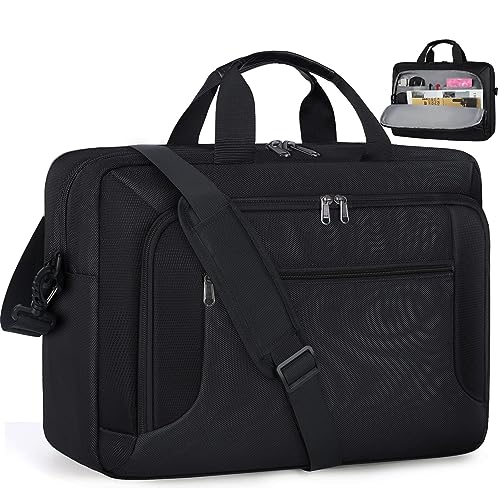
I use a laptop bag that fits my laptop, radio, tuner, Amp (some times you just want more power), Antenna and required cables to bypass the push to talk for digital modes. In a pinch I just cut one of the stereo wires in a normal 3.5mm male to 3.5mm male cable.


What you need to know.
Portable off grid ham radio requires some money and commitment, but the overall experience and learning gained is priceless. For some, it’s a great excuse to get outside and enjoy fresh air and radio. For survivalists/preppers, it’s an important exercise in real world conditions. To anyone, it can be like having Field Day whenever you want. Running portable does not have to be complicated. Don’t worry about getting everything right the first time. It is meant to be fun and enlightening.